Make Your Own Boulder Opal with This Step-by-Step Guide
Have you ever considered dabbling in the delicate art of gemstone creation? Crafting your own boulder opal is a journey that begins by choosing a piece of opal rough that sings to you. It's a process that involves the right tools to cut, grind, and polish your gemstone, revealing the myriad of colors hidden within.
The beauty of this journey is not just in the final product, but in the process itself, as you gain insight into nature's slow and meticulous craftsmanship. So, are you ready to expose the secrets that lie beneath the rough exterior of a boulder opal?
Key Takeaways
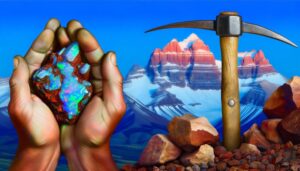
- Source a high-quality piece of boulder opal rough, primarily found in Queensland, Australia.
- Use lapidary trim saw or diamond saw to carefully cut the opal, then grind and sand to shape it.
- Begin polishing your gemstone with a rough, medium, and fine polish using varying grits of diamond paste.
- Complete the polishing process with a final application of cerium oxide to bring out the opal's shine.
- Display the finished boulder opal in natural sunlight or white light against a dark backdrop for maximum color impact.
Understanding the Boulder Opal

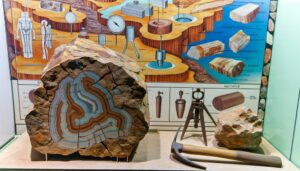
Before embarking on the journey to create your boulder opal, understanding the unique characteristics and formation process of this sought-after gemstone is crucial.
This gem, primarily found in Queensland, Australia, is renowned for its vibrant, rainbow-like colors enclosed within ironstone boulders. Through the interaction of ironstone and silica-rich solution over millions of years, the magnificent opal is created.
The ironstone boulder serves as a natural support, magnifying the opal's brilliant colors. Its formation is a stunning display of nature's gradual artistry.
Grasping this process provides insight into the intricacy and duration involved in each opal's creation. This foundational knowledge deepens your admiration for the stone and equips you for the meticulous process of crafting your boulder opal.
Gathering Your Materials
To begin on this thrilling journey of creating your own boulder opal, you'll first need to assemble the right set of materials, making sure each item is of good quality to facilitate your project's success.
- Boulder Opal Rough: This is the raw material you'll be working with, so verify it's of high quality. Look for pieces with dazzling colors and patterns.
- Cutting Tools: A lapidary trim saw or a diamond saw is essential for cutting the rough into workable pieces.
- Grinding and Sanding Tools: After cutting, you'll need to shape and smooth your opal. A lapidary machine with grinding and sanding attachments is ideal for this.
- Polishing Compounds: Finally, to bring out the opal's shine, you'll need polishing compounds like cerium oxide or tin oxide.
With these materials, you're well-equipped to start crafting your boulder opal.
The Opal Formation Process

Understanding the opal formation process is essential as it's not just about crafting but also appreciating the intricate details that make each boulder opal unique. This process begins millions of years ago when silica-rich water seeps into the crevices of ironstone boulders. Over time, as the water evaporates, the silica particles solidify and form opal.
However, the magic doesn't stop there. The play-of-color, the distinctive quality of opals, is a result of the arrangement of these silica particles. Smaller particles produce blues and violets, while larger ones yield reds and oranges. So, when you're handling an opal, you're not just holding a stone; you're holding a piece of geological history.
Remember this as you progress through each step of creating your own opal.
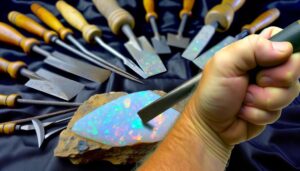
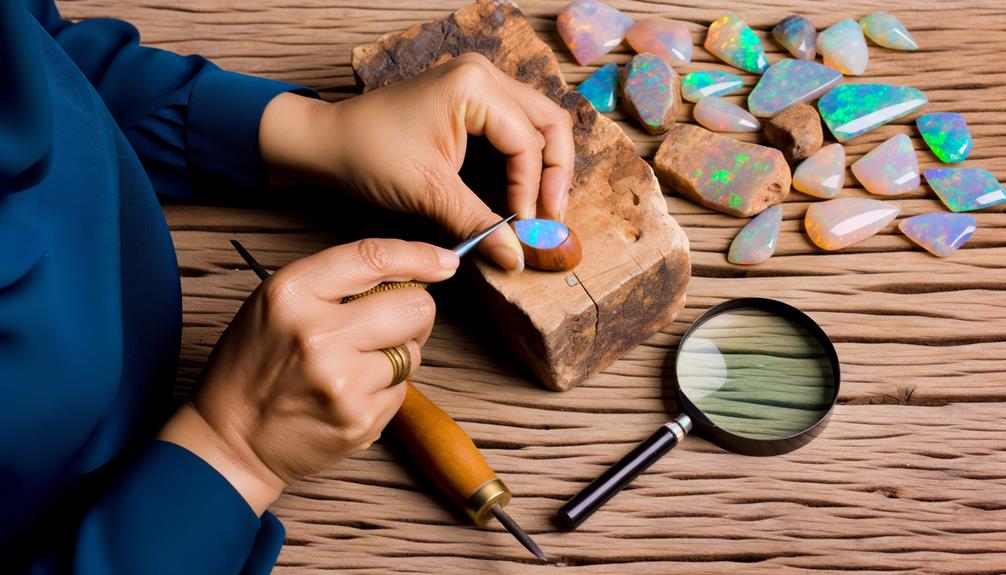
Polishing Your Gemstone
Now, after your boulder opal has been carefully formed, comes the essential stage of polishing your gemstone to really bring out its unique colors and shimmer.
Here's a straightforward, 4-step process to help you achieve the best results:
- Start with a rough polish: Use a 600 grit diamond past on a lapidary wheel. This initial polish will smooth any remaining rough areas on your opal.
- Move to a medium polish: Switch to a 1200 grit diamond past. This will start to bring out the opal's natural shine.
- Apply a fine polish: A 3000 grit diamond paste will give your opal a glossy finish.
- Final polish: To make your boulder opal truly sparkle, finish with a cerium oxide polish.
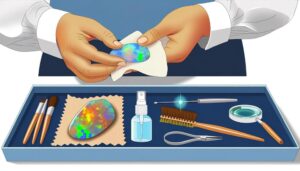
Displaying Your Homemade Boulder Opal
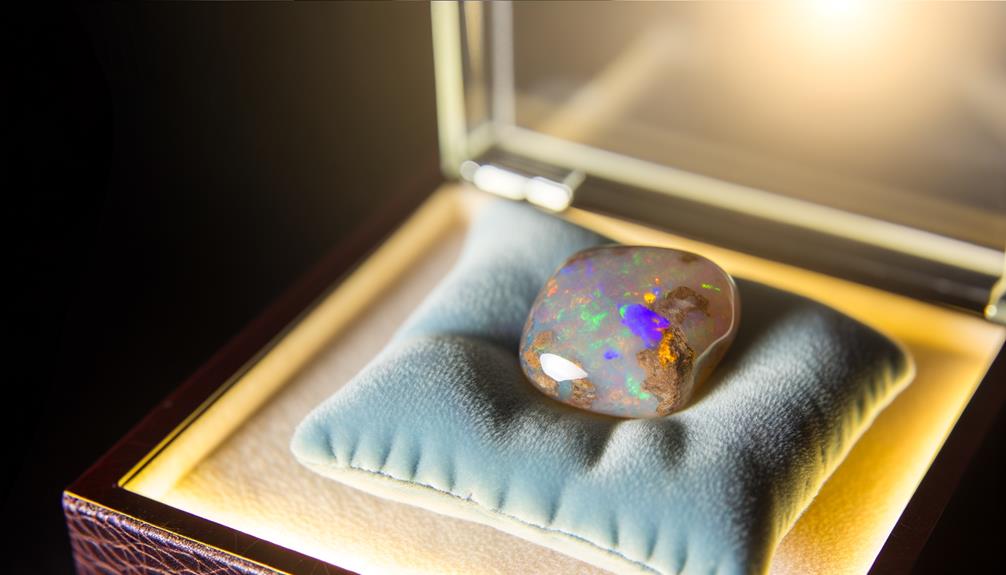
Have you ever wondered how best to showcase your homemade boulder opal and truly illuminate its unique characteristics?
It's not as tricky as you might think. Start by choosing a light source that emphasizes the opal's brilliant color play. Natural sunlight is ideal, but if that's not possible, opt for a white light source.
Display it against a dark backdrop to create a striking contrast, allowing the opal's colors to pop. Invest in a quality display case or stand, designed for opals or similar precious stones.
A rotating stand can offer viewers a 360-degree perspective, highlighting your opal's dimensional beauty. Finally, make sure your opal is clean before displaying it. A smudged opal can detract from its overall appeal.
Conclusion
So, you've journeyed through the fascinating process of creating your own boulder opal.
You've seen firsthand how nature's slow artistry forms this vibrant gemstone, honed your polishing skills, and learned the best way to display your masterpiece.
It's proof that with the right materials, patience, and a keen eye, you can produce a stunning boulder opal, mirroring the beauty nature takes millions of years to create.
Your new opal is a confirmation to your craftsmanship and nature's magic.