How to Polish Boulder Opal – A Step-by-Step Guide
Isn't it a coincidence that you've come across this piece just as you've been thinking about polishing that Boulder Opal you recently procured? You're probably aware that it's a delicate process, one that requires a keen eye and a steady hand. But where do you start? And what tools do you need? We'll walk you through the process, step by step, giving you the know-how to transform your raw stone into a gem of sparkling brilliance.
But be warned, once you start, there's no turning back from the satisfaction that comes with polishing your own Boulder Opal.
Key Takeaways
- Begin by cleaning the Boulder Opal and grinding it to the desired shape with a Dremel or rotary tool.
- Use wet sandpaper, flexible sanding pads, and diamond sanding discs to gradually smooth the opal's surface.
- Start with a coarse grit for rough spots, then transition to a medium grit, and finally a fine grit for polishing.
- Utilize a polishing wheel attachment with a polishing compound to achieve a glossy finish on the opal.
- After polishing, maintain the Boulder Opal's shine by regularly cleaning it gently with a soft cloth and storing it in a cool, dry place.
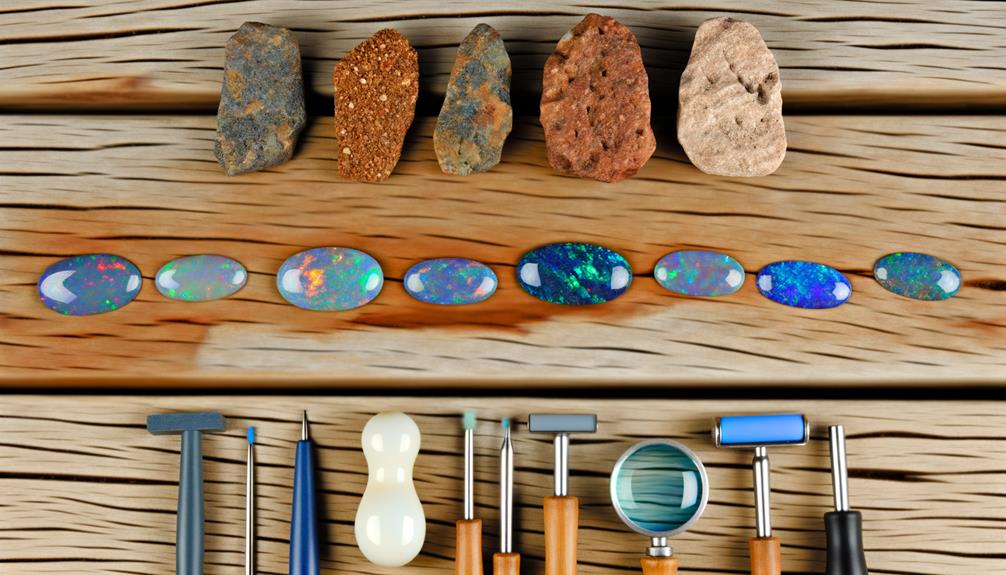
Understanding Boulder Opal
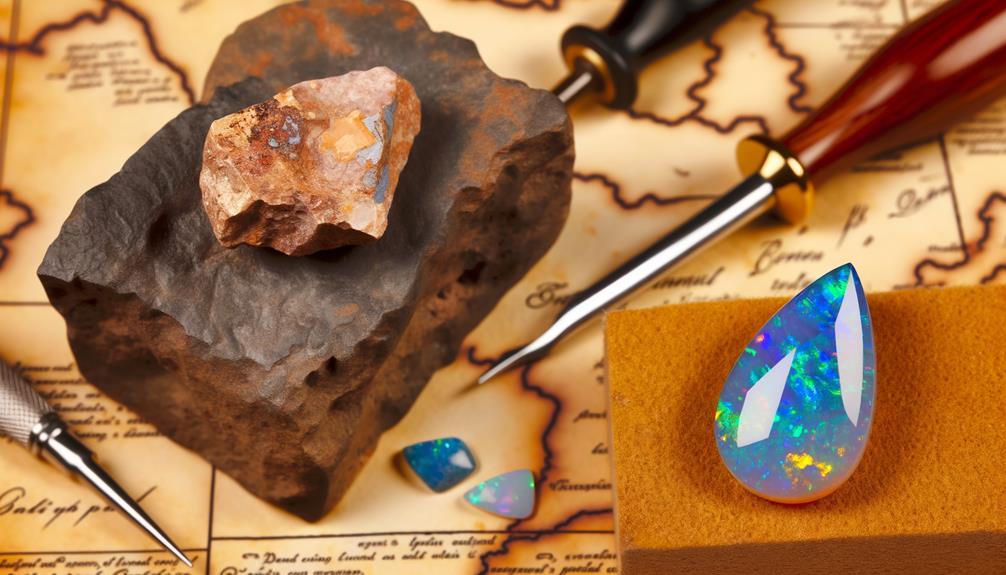
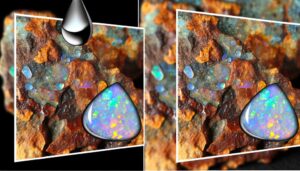
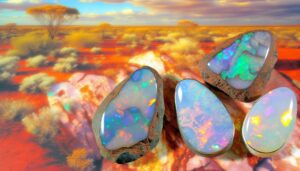
Diving into the world of gemstones, you'll find that Boulder Opal, a unique and vibrant type of opal, is admired for its rich color play and natural beauty.
This gemstone, originating mainly from Australia, is characterized by its ironstone host rock, which often forms an intricate pattern with the opal.
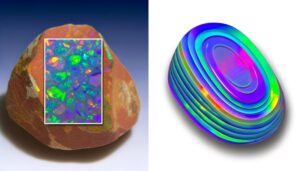
Unlike other opals, Boulder Opal's color isn't just on the surface – it flows deep within the stone, creating enthralling 3D effects. The opal's play-of-color, the mesmerizing dance of rainbow hues, is due to tiny silica spheres arranged in a unique grid. Their size and arrangement affect the stone's fire and brilliance.
Knowing these characteristics is important before you start polishing, as they'll guide your technique to preserve and enhance the stone's natural beauty.
Necessary Polishing Tools
Armed with the right tools, you'll find that polishing a Boulder Opal can become a rewarding, hands-on experience. It's vital, however, to have the correct equipment on hand to guarantee the best possible result.
Here's what you'll need:
- *A Dremel or similar rotary tool*: This is essential for grinding and shaping the opal.
- *Diamond-coated bits*: They're excellent for precision work and last longer than other types.
- *Polishing wheel attachment*: For that glossy finish, you can't do without this.
- *Safety glasses*: Protecting your eyes from dust and debris is non-negotiable.
- *Dust mask*: Opal dust isn't something you want in your lungs, so always wear a mask.
Preparing Your Work Area
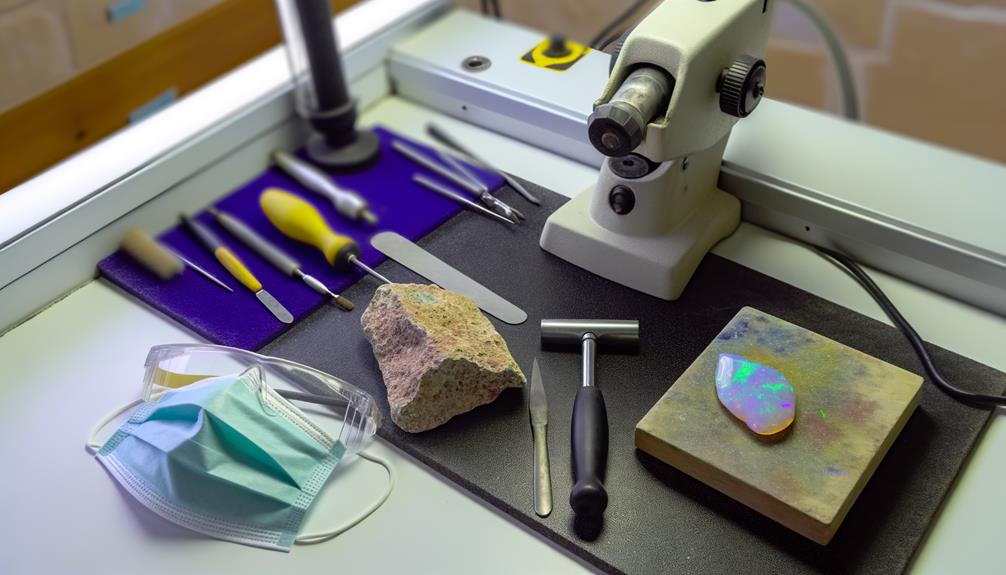
Before you begin the polishing process, it's important to properly set up your workspace to guarantee safety and efficiency. This preparation is not just about cleanliness, but also about ensuring that all necessary tools are within easy reach.
Here's a small table to guide your workspace organization:
| Area | Purpose | Tools |
|---|---|---|
| Work Surface | Polishing | Sanding tools, water, polishing compound |
| Safety Zone | Protection | Safety glasses, gloves, dust mask |
| Storage Area | Keep tools organized | Trays, containers, racks |
Initial Boulder Opal Sanding
Now, let's turn our attention to the initial sanding of the boulder opal.
Your first task is selecting the right sanding materials, it's important to choose those that suit the unique hardness and texture of these precious stones.
Then, we'll guide you through the different sanding techniques to guarantee a smooth, high-quality finish.
Choosing Sanding Materials
Selecting the right sanding materials is essential when initially sanding your boulder opal, as it directly impacts the stone's final polish and value. You'll want to make careful choices based on the stone's hardness, fragility, and your desired finish.
Here are some of the essentials you'll need to take into account:
- Wet Sandpaper: It's ideal for the first rough sanding due to its ability to remove material quickly without damaging the stone.
- Flexible Sanding Pads: They're perfect for reaching uneven surfaces of the opal.
- Diamond Sanding Discs: These provide a finer grit for a smooth finish.
- Polishing Compound: It's used in the final stages to achieve a high shine.
- Safety Gear: It's important to protect your eyes and lungs during the process.
Sanding Techniques Overview
While having the correct sanding materials is crucial, knowing how to use them effectively on your boulder opal is just as significant. You'll want to start with a coarse grit to eliminate any rough spots or imperfections. Then, gradually transition to a finer grit for a smooth finish. The key is to work patiently and consistently, keeping the opal wet to prevent heat buildup which can lead to cracks.
Here's a simple table to guide you:
| Step | Grit Type | Action |
|---|---|---|
| 1 | Coarse | Eliminate rough spots |
| 2 | Medium | Smoothen surface |
| 3 | Fine | Polish to a shine |
Polishing Process Explained
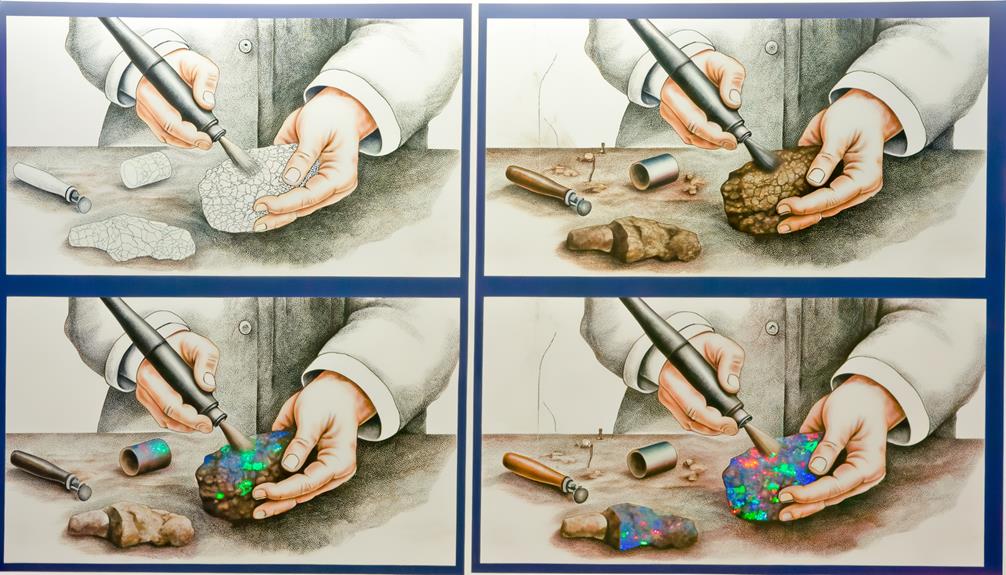
The artistry of polishing boulder opal transforms this raw gemstone into a sparkling jewel that's a feast for the eyes. The process is meticulous, requiring patience and precision. It's crucial to understand each step, so let's break it down:
- Cleaning: First, cleanse the opal with a soft brush to remove any dirt or debris.
- Lapping: Using a lap wheel, you'll grind the stone to the desired shape.
- Sanding: Next, sand the opal with increasingly finer grit to smooth it.
- Polishing: Now, you use a soft cloth and cerium oxide to bring out the stone's natural shine.
- Final Inspection: Ultimately, inspect your work under a bright light to ensure a flawless finish.
Proper Post-Polishing Care
Now that you've polished your boulder opal to perfection, understanding how to maintain its lustrous shine and prevent any potential damage is crucial.
We're going to discuss the right strategies for preserving its beauty and longevity.
From storage conditions to cleaning techniques, you'll learn the best practices to keep your opal looking its best.
Maintaining Opal Shine
After polishing your Boulder Opal to a brilliant shine, it's critical that you take the right steps to maintain its lustrous finish. Proper care not only preserves the opal's beauty, but also extends its lifespan.
Here is a list of key maintenance tasks:
- Regularly clean your opal with a soft, lint-free cloth to remove any dust or smudges.
- Avoid exposing your opal to harsh chemicals or extreme temperatures.
- Store your opal in a dry, cool place when not in use.
- Consider professional cleaning services for deep cleans.
- Use specific opal care products for best results.
Avoiding Opal Damage
Keeping your polished Boulder Opal out of harm's way involves a few important steps to ensure that your gem remains as dazzling as the day you first polished it.
First, avoid exposing your opal to rapid temperature changes as they can cause cracking.
Next, it's best not to wear your opal while engaged in heavy physical activities; a hard knock could cause damage.
Also, keep it away from harsh chemicals or cleaning agents, as they can dull the opal's stunning play-of-color.
Lastly, remember to clean your opal gently. Use mild soap, warm water, and a soft cloth.
Conclusion
Polishing boulder opal isn't just about improving its aesthetics, it's also about preserving its value. Did you know that a well-polished opal can increase its value by up to 15%? So, don't overlook this essential step.
By meticulously following the sanding and polishing processes, you're not only enhancing the opal's beauty but also protecting your investment. Remember, the key to a successful polish lies in patience, precision, and proper care.