3 Essential Steps for Cutting Rough Crystal Fire Opal
To cut rough crystal fire opal, first select a piece with vibrant iridescence, minimal imperfections, and promising form. Use diamond saws and grinding wheels, along with protective gear.
Secure the opal to dop sticks and plan your cuts by evaluating natural features and maximizing color display. Mark precise cutting lines to avoid fractures.
Begin shaping with coarse abrasives and refine with finer materials for a smooth finish. Sand using progressively finer materials and a water drip system.
Polishing is the final step before examination. Mastering these steps guarantees a high-quality gemstone.
Master these techniques to achieve a stunning outcome.
Key Takeaways
- Examine the rough opal for vibrant color play and minimal fractures to determine the best cutting angles.
- Use diamond saws and grinding wheels with various grits to shape and polish the opal.
- Secure the opal to dop sticks using wax or adhesive for stability during cutting.
- Continuously monitor progress under good lighting to ensure accuracy and prevent errors.
- Refine the opal's shape methodically, progressing through finer grits to achieve a smooth, even surface.
Selecting Rough Fire Opal
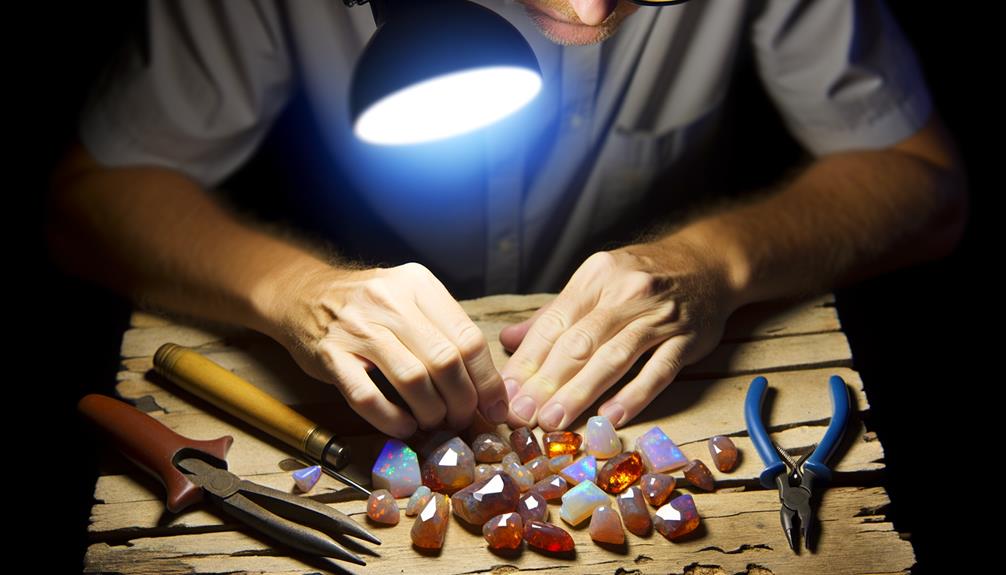
When selecting rough fire opal, prioritize examining its color play, clarity, and potential for cutting into high-quality gemstones.
First, focus on the color play, which refers to the vibrant flashes of color within the opal. Look for varied hues and strong intensity.
Next, assess the clarity; avoid pieces with too many inclusions or fractures, as these can affect the stone's structural integrity.
Finally, evaluate the rough opal's shape and size to determine its suitability for cutting. Consider how much of the material will be lost during the cutting process and whether the remaining piece will meet your quality standards.
Gathering Essential Tools
To begin cutting rough crystal fire opal, you'll need specific cutting instruments like diamond saws and grinding wheels. Make sure you have essential safety gear, including eye protection and dust masks, to mitigate risks.
These tools and precautions are important for both precision and safety in your lapidary work.
Required Cutting Instruments
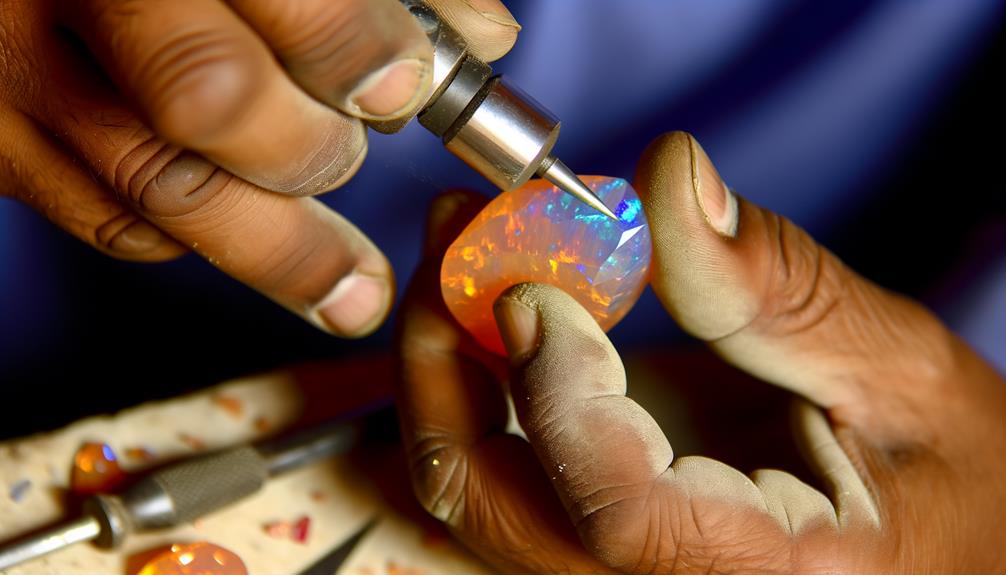
Before starting your cutting project, gather necessary tools like a trim saw, dop sticks, and a variety of diamond grits.
The trim saw is essential for making precise cuts on your rough opal; make sure it has a thin, diamond-coated blade.
Dop sticks stabilize the opal during cutting and polishing, providing accuracy and reducing the risk of breakage. Use wax or adhesive to secure the opal to the dop stick.
A range of diamond grits, from coarse to fine, will allow you to shape and polish the opal effectively. Coarse grits (80-220) are for initial shaping, while finer grits (600-3000) refine and polish the surface.
Safety Gear Essentials
Proper safety gear is essential to prevent injuries and guarantee a safe and efficient cutting process. You need to equip yourself with the right tools to protect your eyes, lungs, and hands. Safety goggles shield your eyes from flying debris, while a dust mask or respirator prevents inhalation of fine particles. Additionally, durable gloves safeguard your hands from sharp edges and potential cuts.
Here's a quick overview of the essential safety gear:
| Safety Gear | Purpose | Essential Features |
|---|---|---|
| Safety Goggles | Eye Protection | Impact-resistant, clear lens |
| Dust Mask | Respiratory Protection | N95 rating, comfortable fit |
| Respirator | Enhanced Air Filtration | HEPA filter, adjustable straps |
| Gloves | Hand Protection | Cut-resistant, snug fit |
| Apron | Body Protection | Waterproof, durable material |
Ensure you've gathered these items before starting your cutting process.
Assessing Opal Quality
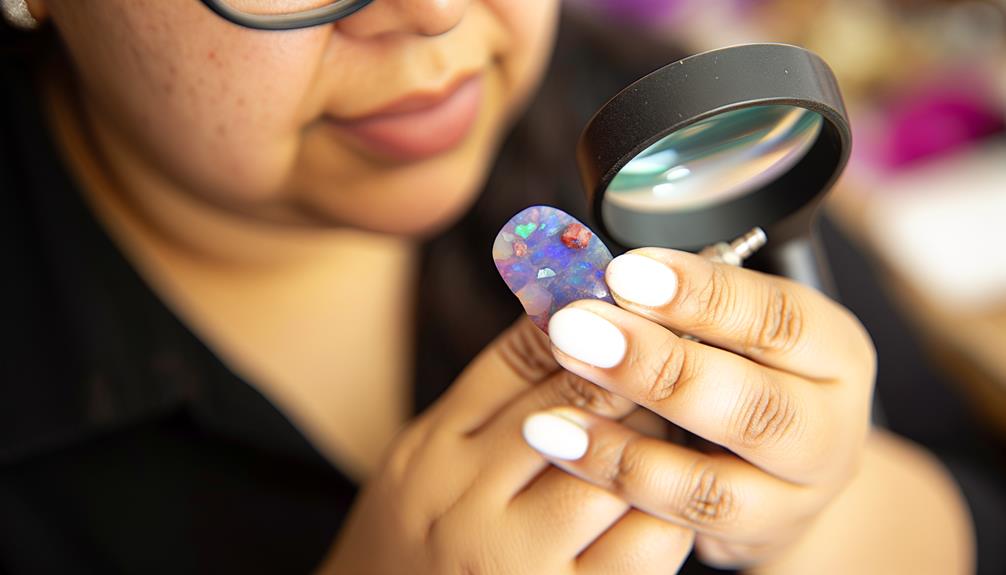
When evaluating opal quality, start by examining the color and pattern, ensuring they exhibit vibrant play-of-color and desirable formations.
Next, check the structural integrity of the stone, looking for any cracks or inclusions that could compromise its durability.
This initial evaluation is critical for determining the opal's potential value and suitability for cutting.
Color and Pattern Assessment
Evaluating the quality of a rough crystal fire opal requires a keen eye for its color intensity, play-of-color, and pattern distribution.
First, assess the color intensity by examining how vibrant and saturated the hues are under various lighting conditions.
Next, observe the play-of-color, noting the range and movement of spectral colors when you rotate the opal. This optical phenomenon is critical in determining the stone's value.
Finally, scrutinize the pattern distribution. Look for uniformity and distinct, desirable patterns such as harlequin, pinfire, or ribbon. Avoid areas with dull, lifeless patches, as they can diminish the gem's overall appeal.
Structural Integrity Check
Start by examining the rough crystal fire opal for any visible fractures or inclusions that could compromise its structural strength. Use a jeweler's loupe to carefully inspect the opal's surface. Look for signs of crazing, which are small cracks that can greatly weaken the stone.
Check for inclusions, such as foreign materials or internal voids, which might impact durability. Utilize transmitted light to reveal hidden flaws within the opal. Rotate the opal and observe from different angles to conduct a thorough evaluation.
If you find significant structural issues, consider if the opal is worth the risk of cutting. A detailed structural integrity check helps ensure that your final piece will be both beautiful and secure.
Planning Your Cuts
Assess the opal's natural features to determine the best angles and minimize material loss. Begin by examining the opal's color play, inclusions, and fractures under magnification. Identify areas with the most vibrant fire and the least imperfections. Prioritize preserving these sections.
Consider the opal's orientation; the brightest face should be the focal point. Use a well-lit workspace to observe how light interacts with different facets. Evaluate potential cuts by imagining the finished piece, ensuring you maximize brilliance and size. Avoid cutting through visible inclusions or weak points, as this can compromise integrity.
Your goal is to balance aesthetics and durability, creating a stunning gem with minimal waste. Effective planning sets the foundation for a successful cutting process.
Marking Cutting Lines
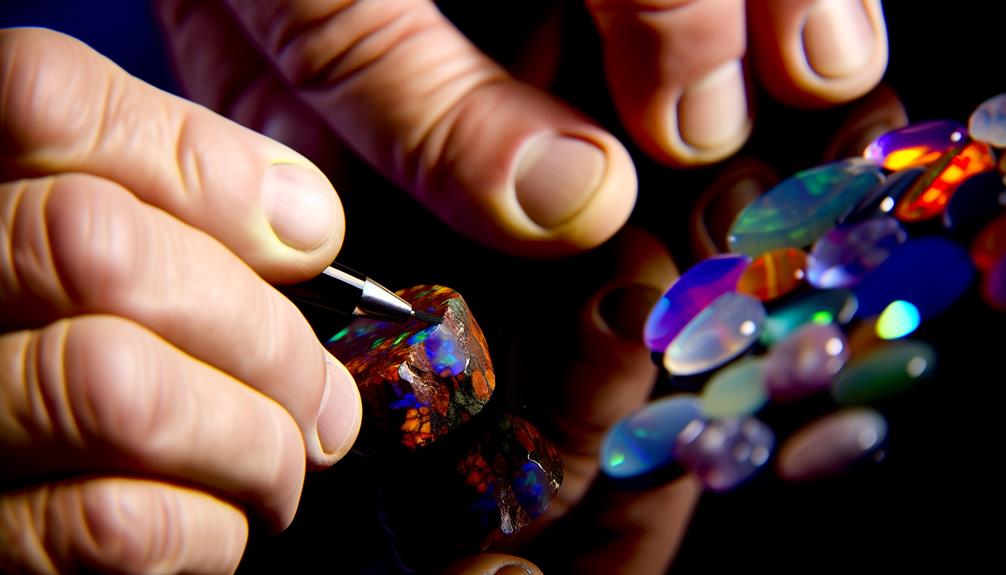
When marking cutting lines on rough crystal fire opal, first identify natural fractures to minimize waste and maximize yield.
Use precision tools like fine-tipped markers and calipers to ensure accuracy.
This meticulous approach guarantees clean cuts and preserves the opal's intrinsic value.
Identifying Natural Fractures
To accurately mark cutting lines on rough crystal fire opal, first closely examine the stone under ideal lighting to identify natural fractures. Use a jeweler's loupe to scrutinize the opal's surface and internal structure. Look for hairline cracks, cleavage planes, and inclusions. These natural fractures will dictate the safest and most effective cutting lines. Marking along these lines ensures structural integrity and maximizes yield.
Note the orientation of color play; align cutting lines to enhance visual appeal and minimize material loss. Gently mark identified lines using a fine, non-permanent marker. Be precise in your marking to avoid unnecessary stress points.
This careful examination and marking process is essential before progressing to the actual cutting stage.
Using Precision Tools
With the cutting lines marked, select precision tools like diamond-tipped scribers and fine-point markers to guarantee accuracy and control in outlining the exact paths for cutting. Diamond-tipped scribers offer unparalleled sharpness, ensuring clean, visible lines on the opal's surface.
Fine-point markers, specifically designed for gemstone work, provide non-abrasive, easily removable marks. Verify your workspace is well-lit to enhance visibility and minimize errors. Hold the opal securely using a non-slip mat or a jeweler's vise to prevent unwanted movement during marking.
Consistently check the alignment of your lines against the natural fractures identified earlier. This meticulous approach ensures that each cut maximizes the stone's inherent beauty while minimizing waste. Precision in marking sets the stage for a flawless cutting process.
Initial Shaping Process
Before you start the initial shaping process, make sure you have a clear vision of the final design and the appropriate tools ready for precise cutting. Begin by examining the rough crystal fire opal for natural lines and fractures that could guide your cuts. Use a fine-tipped marker to outline the desired shape on the opal.
Carefully proceed with the following steps:
- Assess the stone: Identify the best orientation to maximize color play and minimize waste.
- Select tools: Use diamond saws and grinding wheels suitable for delicate opal cutting.
- Monitor progress: Continuously check your work under good lighting to ensure accuracy.
Refining the Shape
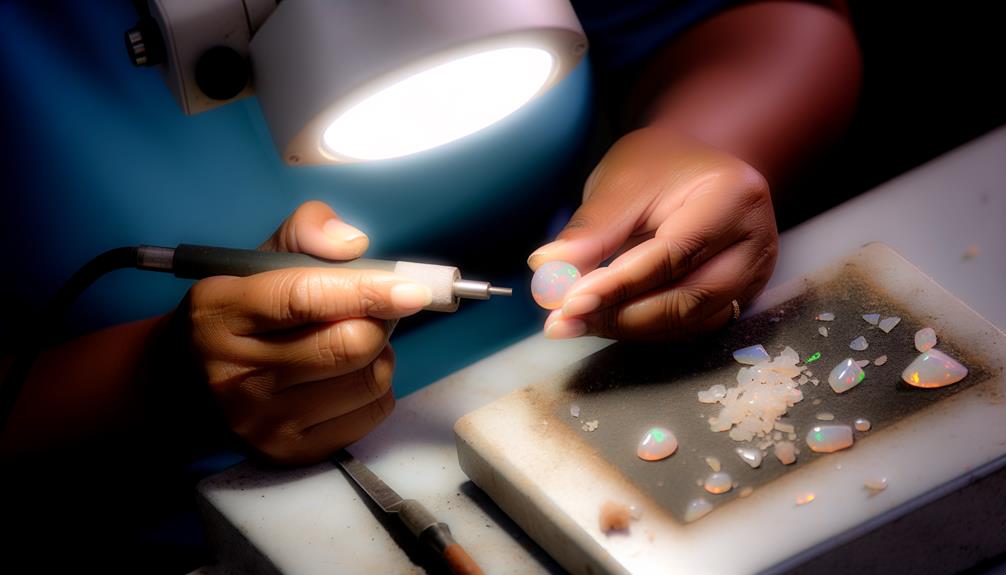
Once you've completed the initial shaping, employ finer grit diamond tools to methodically refine the opal's contours and enhance its natural beauty. Use a 600-grit diamond wheel to carefully work on the opal's edges and curves. Maintain a steady hand and consistent pressure to avoid chipping or fracturing the stone. Focus on achieving a smooth, even surface while preserving the opal's unique color play.
Inspect the opal frequently under good lighting to check for imperfections or inconsistencies. Gradually progress to an 800-grit wheel for further refinement. This stage is pivotal for defining the opal's final shape and preparing it for the ultimate finish. Remember, patience and precision are key to bringing out the opal's full potential.
Sanding Techniques
To accomplish a flawless finish, you need to shift from using diamond wheels to employing progressively finer sandpapers, starting with 1000-grit. Sanding is critical to remove scratches and refine the stone's surface. Here's how to do it efficiently:
- Maintain steady hand pressure: Consistent pressure guarantees even sanding and prevents uneven surfaces.
- Use a water drip system: Keeps the opal cool and minimizes dust, reducing the risk of fractures.
- Progress through grits: Move from 1000-grit to 2000-grit, and finish with 3000-grit sandpaper for optimal smoothness.
Ensure each grit fully eliminates the scratches from the previous one before progressing. This meticulous approach guarantees the opal's surface is impeccably prepared for the final polishing phase.
Polishing the Opal
Achieving a high-gloss finish on your opal requires a systematic application of polishing compounds, typically starting with cerium oxide. Begin by ensuring your opal is securely mounted on a dop stick.
Apply a small amount of cerium oxide mixed with water to a felt polishing wheel. Use light, even pressure to avoid generating excessive heat, which can damage the opal. Rotate the opal frequently to achieve uniform polishing. If needed, progress to finer polishing compounds like aluminum oxide for enhanced clarity.
Continuously inspect the surface under magnification to identify any remaining scratches or dull spots. Rinse the opal frequently to remove residues, ensuring the polishing compound can work effectively. By following these steps, you'll achieve a stunning, high-gloss finish.
Final Inspection and Care
Carefully examine the opal under a bright, diffused light to confirm all facets are free from scratches and display consistent clarity. This confirms the opal's brilliance and fire are maximized.
- Check for micro-fractures: Use a jeweler's loupe to detect any small cracks that might compromise the stone's integrity.
- Assess polish quality: Validate the surface is uniformly polished without any dull spots.
- Verify shape symmetry: Confirm that the opal's cut maintains a balanced and symmetrical form.
After inspection, clean the opal with a soft, lint-free cloth. Store it in a padded jewelry box away from direct sunlight and extreme temperatures.
Regular care and maintenance will sustain the opal's beauty and structural integrity over time.
Conclusion
With your fire opal now polished and gleaming, imagine holding it up to the light, watching the vibrant colors dance and shimmer. Every facet you've carefully crafted catches the eye, revealing the gem's inner fire.
The once rough stone has transformed into a brilliant masterpiece, a proof of your precision and skill. Remember, proper care will guarantee your opal's enduring beauty.
Your journey from rough crystal to dazzling gem is complete. Enjoy the radiant results of your craftsmanship.

