Achieving a Stunning Blue Fire Opal Paint Effect
To accomplish a striking Blue Fire Opal paint effect, you'll need to grasp the play-of-color and light interference phenomena. Start with high-quality acrylic or urethane paints and ensure precise surface preparation—clean, degrease, sand, and prime meticulously.
Utilize top-tier synthetic brushes, foam rollers, and an adjustable airbrush for even coating. Apply thin base coat layers, allowing 15-20 minutes flash-off time.
Wet-sand between coats with 1500-grit sandpaper, finishing with a dual-action polisher. For enduring brilliance, maintain with non-abrasive microfiber cloths and high-quality carnauba wax.
Mastery of these techniques will elevate your project to a professional-grade finish. Explore advanced techniques next.

Key Takeaways
- Unique Optical Properties: The Blue Fire Opal paint effect mimics the play-of-color phenomenon seen in natural opals.
- Surface Preparation: Ensuring a meticulously clean and smooth surface is crucial for achieving the flawless Blue Fire Opal effect.
- High-Quality Paints: Use high-quality acrylic or urethane paints to ensure the durability and depth of the Blue Fire Opal finish.
- Multiple Thin Layers: Apply multiple thin layers with appropriate flash-off times to build up the depth and iridescence characteristic of Blue Fire Opal.
- Final Buffing: Finish with a dual-action polisher and foam pad to achieve a mirror-like sheen, enhancing the Blue Fire Opal effect.
Understanding Blue Fire Opal
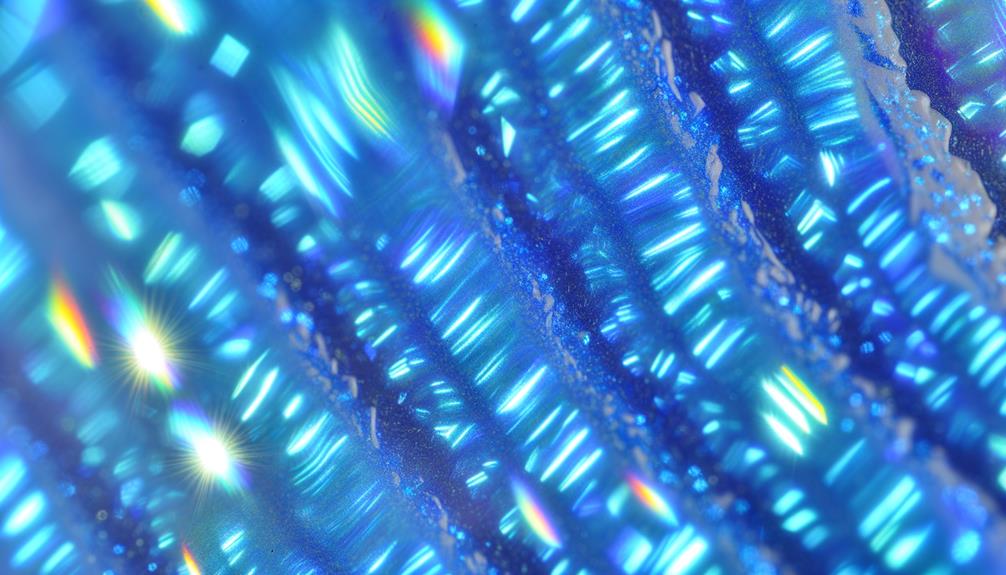
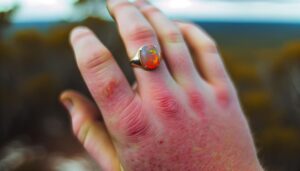
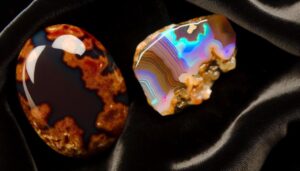
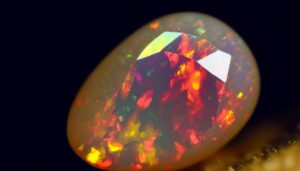
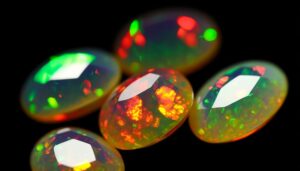
To understand the Blue Fire Opal effect, you must first grasp the unique optical properties of this gemstone, including its play-of-color and iridescence.
Play-of-color refers to the multi-hued flashes that appear when light diffracts through the microstructure of silica spheres within the opal.
Iridescence, on the other hand, is the phenomenon where the surface appears to change color as the angle of view or the angle of illumination changes.
These optical effects are due to the interference and diffraction of light waves, creating a visual spectacle.
Essential Materials
To achieve the Blue Fire Opal paint effect, you'll need specific tools and materials.
Start with high-quality synthetic brushes and foam rollers for smooth application.
Opt for iridescent and metallic acrylic paints to replicate the opal's unique luminescence.
Required Painting Tools
For achieving a professional Blue Fire Opal paint effect, your toolkit must include high-grade brushes, a precision airbrush, and a range of masking tapes. Precision is key, so opt for synthetic brushes with fine bristles to guarantee smooth application.
The airbrush should have adjustable nozzle settings for detailed work and even coverage. Masking tapes with different widths will allow you to protect areas and create sharp, clean lines.
- High-grade synthetic brushes
- Precision airbrush with adjustable nozzle
- Range of masking tapes
A mixing palette for custom colors and protective gloves and eyewear are also essential in creating this unique paint effect. Make sure your workspace is well-ventilated and dust-free. Properly maintaining these tools will ensure consistent, professional results, making your Blue Fire Opal effect truly standout.
Ideal Paint Types
When it comes to achieving the Blue Fire Opal effect, you'll need high-quality acrylic or urethane paints known for their durability and vibrant pigmentation. These paints guarantee excellent adhesion and longevity, vital for the intricate layering required. Opt for products specifically formulated for automotive or specialized art projects, ensuring consistency and depth. Below is a comparison to guide your selection:
| Paint Type | Durability (Years) | Best For |
|---|---|---|
| Acrylic | 5-7 | Indoor applications |
| Urethane | 10+ | High-impact environments |
| Hybrid | 7-10 | Versatile uses |
| Enamel | 6-8 | Smooth, glossy finishes |
| Latex | 3-5 | Quick-dry, easy cleanup |
Choosing the right type will greatly impact the final outcome, so make an informed decision tailored to your specific requirements.
Surface Preparation
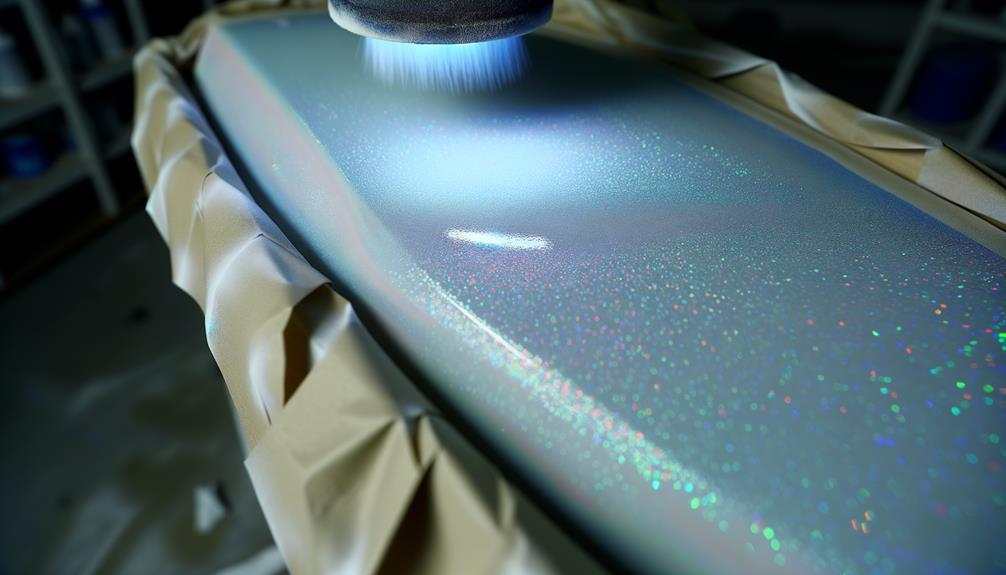
Achieving a flawless Blue Fire Opal paint effect necessitates meticulous surface preparation, confirming the substrate is clean, smooth, and free of any contaminants.
Start by thoroughly washing the surface with a degreasing agent to remove oils and residues.
Sand the surface using progressively finer grits to achieve an ultra-smooth finish.
Next, wipe down the area with a tack cloth to eliminate any lingering dust particles.
Inspect for imperfections and fill any dents or scratches with a high-quality filler.
Finally, apply a suitable primer compatible with your substrate and intended paint.
- Degrease thoroughly: Confirms no oils or residues remain.
- Sand progressively: Use finer grits for smoothness.
- Tack cloth wipe: Removes residual dust.
- Fill imperfections: Use a high-quality filler.
- Apply primer: Confirms proper paint adhesion.
Base Coat Application
Begin the base coat application by ensuring your spray gun is calibrated correctly, providing even and controlled coverage.
Select a high-quality automotive-grade base coat, preferably a neutral or black tone, to maximize the iridescent effect.
Maintain a consistent spray pattern with a 50% overlap to avoid streaks and achieve uniform color deposition.
Keep the spray gun at a distance of 6-8 inches from the surface, adjusting the air pressure within the recommended range (typically 25-30 PSI).
Apply multiple thin layers, allowing adequate flash-off time between coats, generally around 10-15 minutes.
Monitor the ambient temperature and humidity, as these factors critically affect drying times and finish quality.
Achieve full opacity before proceeding to the next stage.
Creating the Opal Effect
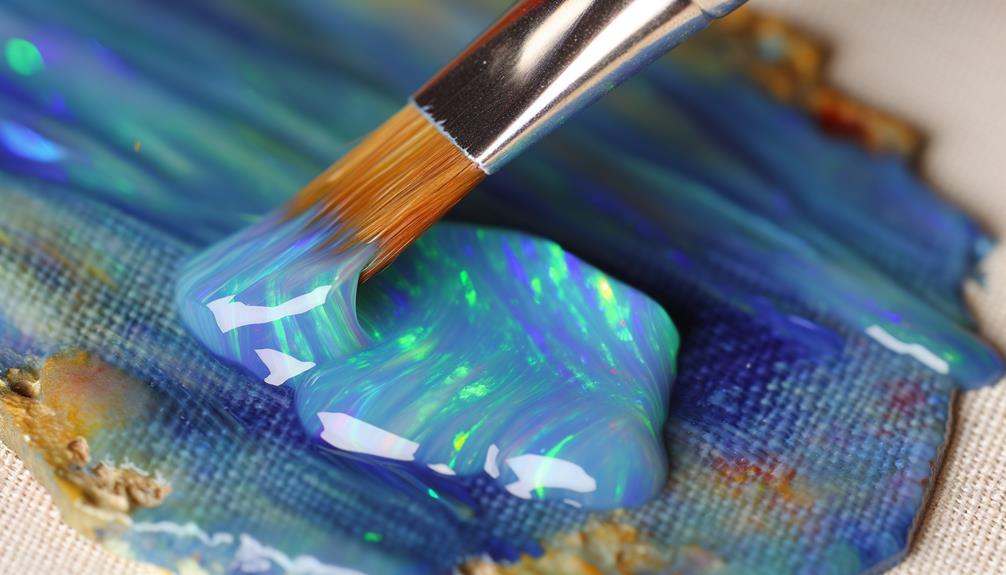
To create the opal effect, you'll need to layer colors strategically, starting with translucent hues to build depth.
Apply iridescent pigments meticulously to achieve a shimmering, multifaceted finish.
Guarantee each layer cures fully before adding the next to maintain clarity and vibrancy.
Layering Colors Strategically
Mastering the opal effect necessitates a methodical approach to layering colors, guaranteeing each coat interacts harmoniously to replicate the gemstone's iridescent quality. Start by applying a base coat of white to create a reflective foundation.
Next, layer translucent blues and greens with an airbrush for a gradual build-up. Apply thin coats of pearlescent medium to enhance depth and luminosity. Intermittent layers of clear varnish can help to set each color stage, preventing muddiness.
Use a fine-tip airbrush for precision application. Allow each layer to fully dry before proceeding. Experiment with mica powders for added shimmer. Apply colors in a random, organic pattern to mimic natural opal. Utilize UV light to inspect the layering effect.
This method guarantees you achieve a multi-dimensional, opalescent finish.
Achieving Iridescent Finish
Once you've established the foundational layers, achieving an iridescent finish involves meticulously applying interference pigments to simulate the opal's characteristic play-of-color.
Begin by selecting high-quality interference pigments—preferably those with a fine particle size for a smoother application. Mix these pigments with a transparent medium to maintain luminescence.
Apply in thin, even coats using an airbrush for precision, ensuring each layer dries fully before adding the next. Layering different interference pigments can amplify the dynamic color shifts, mimicking opal's natural iridescence.
Utilize a high-gloss clear coat to seal and enhance the depth of the finish. Remember, patience and precision are key; rushing this step can compromise the opal effect's authenticity.
Layering Techniques
Achieving the stunning Blue Fire Opal paint effect requires a meticulous approach to layering techniques. Each coat must build upon the last to create depth and luminosity.
Begin by applying a base coat of high-quality primer to secure adhesion and uniformity. Utilize a translucent, iridescent layer to replicate the opalescent sheen. Gradually build up layers of semi-transparent blue and green pigments, allowing each to dry thoroughly before proceeding. Employ a fine misting technique to avoid brush strokes and achieve a seamless blend.
- Base coat application: Secure uniform coverage.
- Translucent layer: Replicates opalescence.
- Semi-transparent pigments: Adds depth.
- Fine misting technique: Prevents brush strokes.
- Drying intervals: Essential for layer integrity.
Meticulously follow these steps to master the Blue Fire Opal effect.
Finishing Touches
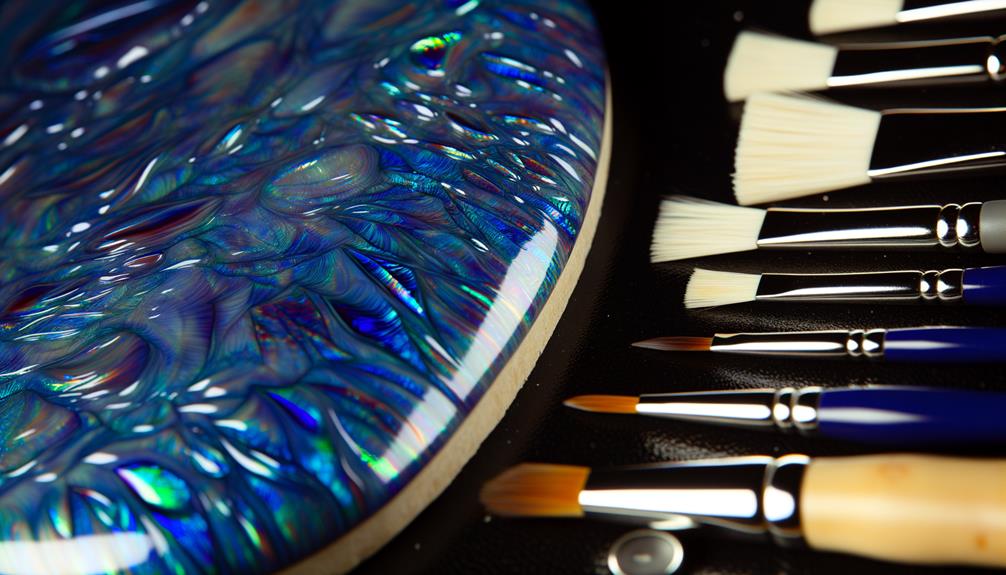
To perfect the Blue Fire Opal effect, apply a high-gloss clear coat to enhance the iridescence and protect the layered pigments. Use a polyurethane or acrylic-based clear coat for best durability.
Employ a fine spray gun with a 1.3mm tip to maintain an even application. Maintain a consistent 6-8 inch distance from the surface to avoid runs and sags. Apply multiple thin layers, allowing a 15-20 minute flash-off time between coats.
Wet-sand with 1500-grit sandpaper between coats to eliminate imperfections. Finish with a final buff using a dual-action polisher and a foam pad to achieve a mirror-like sheen.
This meticulous approach guarantees your Blue Fire Opal paint effect radiates with a professional-grade finish.
Maintenance Tips
For best longevity, regularly clean the surface with a pH-balanced automotive shampoo to prevent contaminants from dulling the Blue Fire Opal finish. Employing meticulous maintenance techniques will guarantee the lustrous appearance remains pristine.
- Use Microfiber Cloths: Opt for soft, non-abrasive microfiber cloths to avoid scratching the delicate finish.
- Apply Wax Regularly: A high-quality carnauba wax will provide an additional protective layer, enhancing the paint's sheen.
- Avoid Direct Sunlight: Wash and polish in shaded areas to prevent water spots from forming.
- Rinse Thoroughly: Confirm all soap residues are completely rinsed off to avoid streaks and dull spots.
- Inspect for Damage: Periodically check for chips or scratches and address them promptly to maintain the integrity of the paint.
Conclusion
Achieving a blue fire opal paint effect requires both precision and creativity. While meticulous surface preparation guarantees longevity, the artistry lies in layering techniques that mimic opal's iridescence.
Employ high-quality materials to prevent premature wear, juxtaposing the opal's delicate beauty against durable finishes. Remember, maintaining this effect requires regular upkeep—gentle cleaning preserves the vibrancy.
Mastering this technique transforms surfaces into mesmerizing displays, where technical skill meets artistic brilliance.


