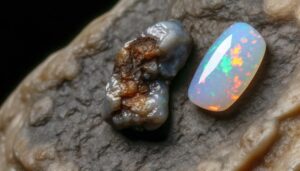
7 Essential Steps to Make Your Own Fire Opal
To make fire opal, start by gathering high-quality silica gel, distilled water, and a heat-resistant mold. Mix the silica gel with distilled water gradually to avoid lumps.
Introduce suitable colorants like metal oxides for vivid hues. Heat the mixture slowly to create the fire pattern, then pour it into a prepared mold, tapping to release air bubbles.
Cure it in an oven for 24 to 48 hours at the set temperature. Polish the set opal with sanding and cerium oxide for a high-gloss finish.
Inspect for imperfections. Mastering these steps will yield breathtaking results.
Key Takeaways
- Mix high-quality silica gel and distilled water gradually to create a lump-free base mixture.
- Add suitable colorants, such as metal oxides and dyes, to achieve vibrant hues.
- Heat the mixture gradually and monitor under a microscope to create the desired fire pattern.
- Pour the mixture into a clean, durable mold, tapping to release trapped air.
- Cure the opal in an oven at the required temperature for 24-48 hours, then polish surface to a mirror-like shine.
Gathering Essential Materials
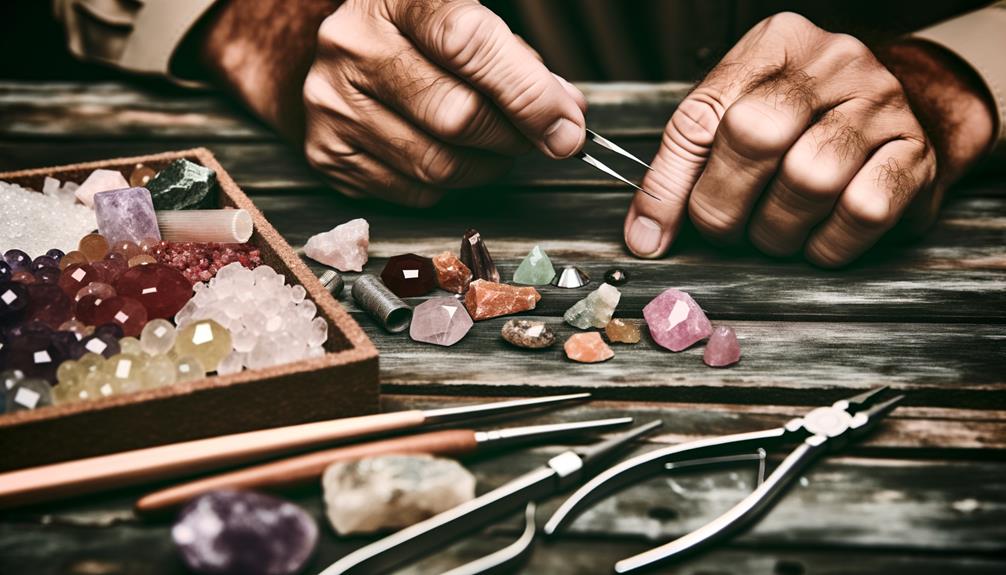
To begin crafting fire opal, you'll need to gather essential materials, including silica gel, water, and a suitable mold. First, make sure you have high-quality silica gel, as it forms the primary structure of the opal.
Next, acquire distilled water to avoid impurities that can affect the final product. The mold should be capable of withstanding the required temperatures and pressures.
Additionally, you'll need a mixing container, measuring tools, and protective equipment. Safety goggles and gloves are essential for handling the materials safely. Precision in measurement is vital, so a digital scale will be beneficial.
Preparing the Base Mixture
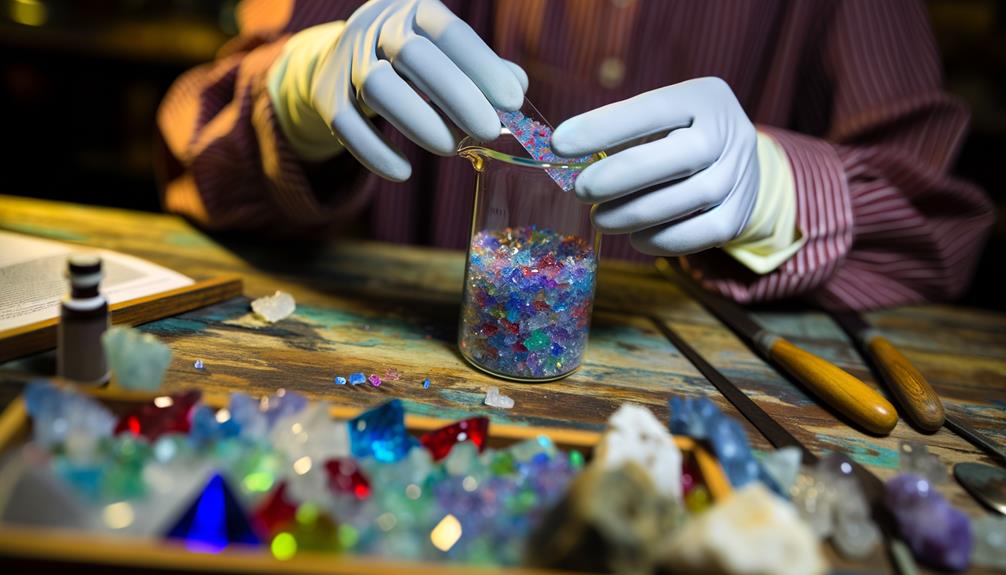
Having gathered all the necessary materials, you can now focus on preparing the base mixture, which involves combining silica gel and distilled water in precise proportions.
Start by measuring 100 grams of silica gel using a digital scale for accuracy. Next, pour 500 milliliters of distilled water into a clean, heat-resistant container. Gradually add the silica gel to the water, stirring continuously with a glass rod to avoid clumping. Ensure the mixture is uniform and free of lumps.
This step is pivotal, as an even base mixture sets the foundation for creating high-quality fire opal. Once mixed, let the solution sit for 30 minutes to fully hydrate the silica particles. Your base mixture is now ready for the next stage.
Mixing Silica Gel
When you start mixing silica gel, you'll need to understand its properties, such as its high surface area and moisture absorption capabilities.
Utilize specific mixing techniques to guarantee uniform dispersion, such as gradually adding the gel to the liquid base while stirring constantly.
Pay close attention to the viscosity changes during the process to achieve the desired consistency for fire opal formation.
Silica Gel Properties
Understanding the properties of silica gel is crucial for successfully blending it to create fire opal. Silica gel comprises primarily of silicon dioxide (SiO₂) and possesses a high surface area due to its porous structure. This high surface area allows it to absorb moisture effectively, which is vital in controlling the water content during the blending process.
Silica gel particles are typically spherical, varying in size from a few micrometers to several millimeters, impacting how they interact and bond. You'll need to maintain a uniform particle size distribution to achieve a consistent mixture. Additionally, silica gel is chemically inert, meaning it won't react with other components, providing stability.
Understanding these properties ensures optimal blending conditions for forming fire opal.
Mixing Techniques
To achieve a consistent mixture of silica gel for fire opal, you must employ precise and controlled mixing techniques. Start by weighing the silica gel accurately to guarantee uniformity.
Gently add the silica gel to a mixing vessel containing deionized water, maintaining a ratio that suits your specific formulation. Use a mechanical stirrer set at a low speed to prevent introducing air bubbles, which can cause defects.
Gradually increase the stirring speed until the silica gel is evenly dispersed. Monitor the mixture's viscosity and adjust the stirring speed accordingly.
Consistency is crucial, so periodically check for any undissolved particles and confirm complete integration. By following these steps, you'll create a well-mixed silica gel foundation for your fire opal.
Adding Coloring Agents
To add coloring agents to your fire opal, you'll need to select appropriate colorants that achieve the desired hues. Guarantee you mix the colorants thoroughly into the silica gel to avoid uneven coloration.
Pay close attention to the proportions used, as even slight variations can greatly impact the final appearance.
Selecting Suitable Colorants
When selecting appropriate colorants for creating fire opal, you should consider the specific metal oxides and dyes that will impart the desired vibrant hues to the silica matrix. For instance, iron oxide can produce warm, reddish tones, while titanium oxide can enhance brightness and whiteness.
Cobalt oxide delivers deep blues, and chromium oxide offers lush greens. Each of these colorants should be finely powdered to guarantee even distribution within the silica. Additionally, use precise measurements to maintain color consistency across batches.
Always verify the compatibility of the chosen colorants with the silica base to prevent unwanted chemical reactions. By carefully selecting and testing your colorants, you'll achieve the alluring play of colors characteristic of high-quality fire opal.
Mixing Colorants Properly
Having chosen your colorants, the next step involves carefully blending these agents into the silica matrix to guarantee a uniform and consistent color throughout the fire opal. Follow these steps precisely to achieve best possible results:
- Measure Exact Amounts: Use a digital scale to measure the precise quantity of each colorant to avoid imbalances.
- Distribute Evenly: Gradually add the colorants to the silica matrix while stirring continuously to ensure a uniform distribution.
- Blend Thoroughly: Utilize a mechanical stirrer for at least 30 minutes to achieve a homogeneous mixture.
- Verify Uniformity: Visually examine the mixture under a bright light to confirm there are no streaks or clumps.
Achieving Desired Hues
With the silica matrix prepared, you'll need to carefully incorporate the coloring agents to achieve the fire opal's desired hues.
First, choose the appropriate metal oxides or salts, such as iron for reds and oranges or cobalt for blues. Measure these agents precisely, as even slight variations can markedly alter the final color.
Dissolve the chosen agents in distilled water, guaranteeing complete dissolution to avoid clumping. Gradually introduce this solution into the silica matrix while continuously stirring to achieve a uniform distribution.
Monitor the mixture's color, adjusting the concentration as needed to reach the exact hue. Once satisfied, allow the mixture to settle, making sure the coloring agents are evenly dispersed. This precision ensures a vibrant, consistent fire opal.
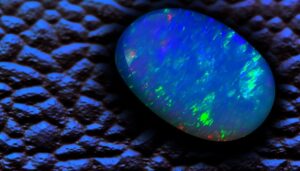
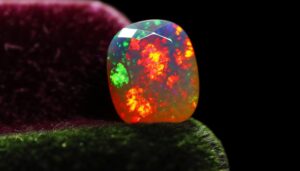
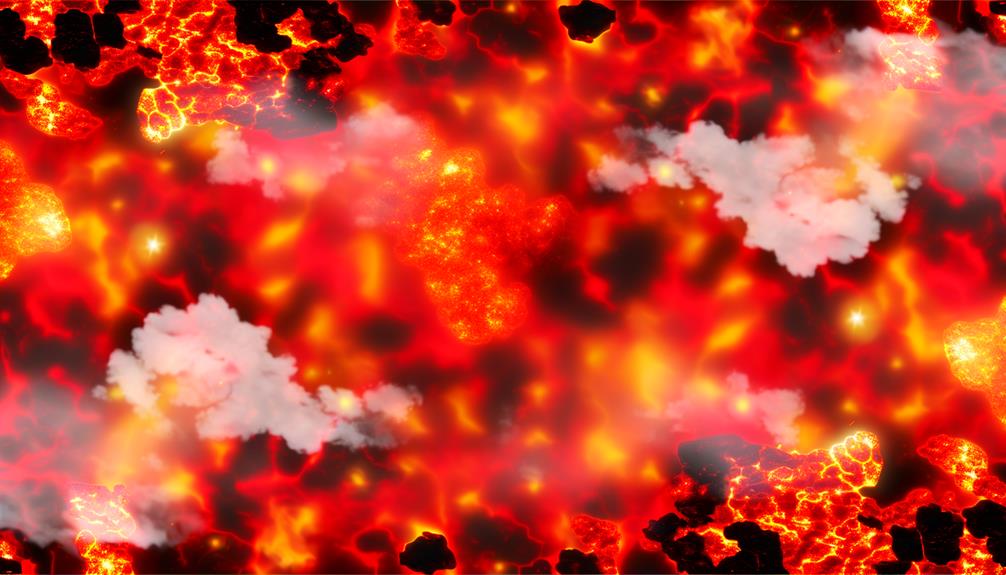
Creating the Fire Pattern

To achieve the vibrant fire pattern in your opal, carefully control the heating process to guarantee the silica spheres form the desired diffraction grating. Precision is essential to secure the right conditions for the fire pattern to emerge.
Follow these steps:
- Temperature Control: Heat the mixture gradually to around 100 degrees Celsius to allow even distribution of silica spheres.
- Duration Monitoring: Maintain heating for approximately 48 hours to let the spheres settle uniformly.
- Cooling Process: Slowly reduce the temperature to avoid cracking, ensuring structural integrity.
- Observation: Continuously monitor the formation under a microscope to detect and adjust any irregularities early.
Molding the Opal
Begin by selecting a suitable mold to shape your opal, ensuring it can withstand the required temperatures and pressures. Opt for a high-quality silicone or metal mold, as these materials provide the durability needed.
Clean the mold thoroughly to remove any contaminants that might affect the opal's structure. Once prepared, pour the opal mixture slowly into the mold, taking care to avoid air bubbles. Use a small spatula to gently spread the mixture evenly.
Tap the mold lightly on a flat surface to release any trapped air. Confirm that the mixture fills all mold cavities completely. Finally, place the mold on a stable, heat-resistant tray, ready for the next phase of the process.
Setting the Opal to Cure
After the best mixture is evenly spread and free of air bubbles, place the filled mold in a preheated curing oven set to the specified temperature for ideal polymerization. During this critical phase, you'll want to monitor the process closely to guarantee prime results.
Follow these steps:
- Temperature Settings: Set the oven precisely to the required curing temperature, which is typically between 70-90°C, depending on your resin type.
- Duration: Allow the mold to cure for the specified time, often ranging from 24 to 48 hours.
- Ventilation: Ensure proper airflow within the oven to avoid uneven curing.
- Inspection: Periodically check for any signs of warping or imperfections.
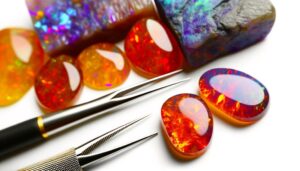
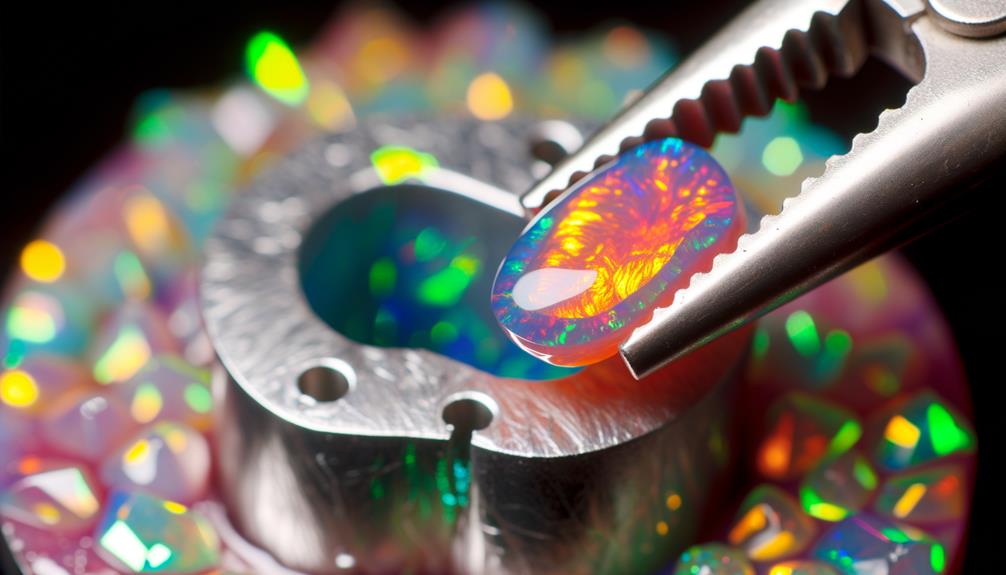
Polishing the Surface
Once the curing process is complete, you'll need to meticulously sand the opal's surface using progressively finer grits to achieve a smooth finish.
Start with 400-grit sandpaper to remove any rough spots or imperfections. Gradually move to 600-grit, then 800-grit, using consistent, circular motions to maintain an even surface. Keep the opal and sandpaper wet to minimize heat and friction, which can damage the stone.
After reaching 1000-grit, switch to a polishing compound, such as cerium oxide, on a felt wheel. Apply gentle pressure and continue until the opal displays a mirror-like shine. Be patient and thorough, as rushing can result in scratches or uneven texture. Proper technique guarantees a brilliant, polished fire opal.
Inspecting and Finishing
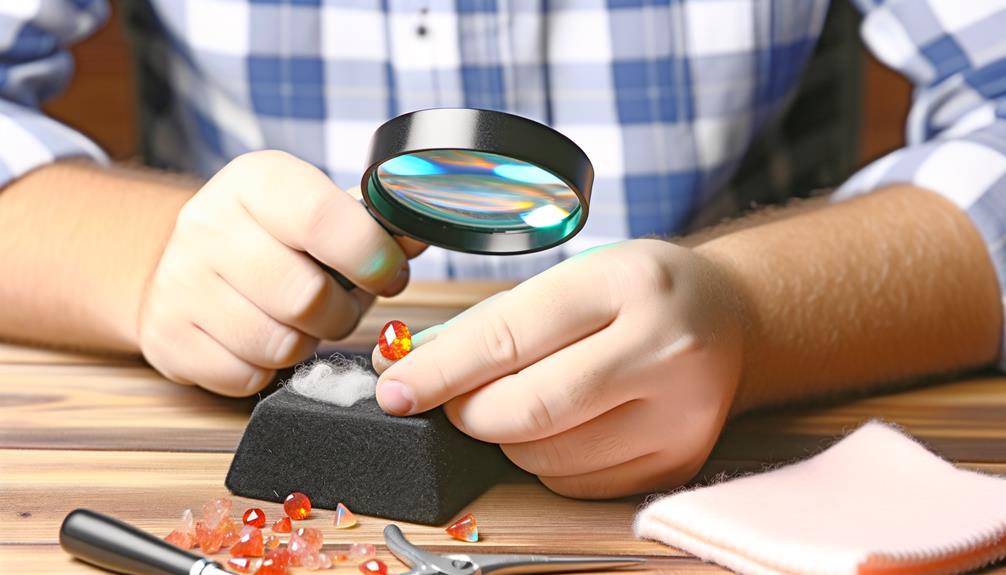
Carefully examine the polished opal under a magnifying glass to identify any remaining imperfections or inconsistencies in the surface. Look for areas that may need further refinement.
Follow these steps to achieve a flawless finish:
- Light Reflection: Rotate the opal to see how light reflects off its surface, revealing any dull spots.
- Surface Smoothness: Run your fingertip across the opal to feel for any rough patches or bumps.
- Color Play: Observe the opal's play-of-color from different angles to check for uniformity.
- Edge Inspection: Focus on the edges to make sure they're smooth and even.
Once satisfied, apply a final polish using a cerium oxide paste and a soft cloth to attain a high-gloss finish.
Conclusion
You've journeyed through the meticulous process of creating a fire opal, from gathering materials to polishing the final product.
Like a master chef crafting a gourmet dish, you've mixed, colored, and molded with precision.
Now, as you inspect and finish your opal, marvel at the fiery dance of colors within. Your dedication has transformed raw components into a gemstone masterpiece.
Remember, practice makes perfect. Keep refining your technique to achieve even more stunning results.