How Do You Transform Rough Opal in 3 Steps to Unveil Beauty?
Start by evaluating your rough opal's color play, brightness, and pattern under different lighting. Note hues and rotation effects.
Clean the opal using water and a gentle brush; avoid harsh chemicals. Check for fractures and inclusions post-cleaning.
Cut the opal along natural seams with a diamond saw, maintaining precision. Polishing involves using increasingly finer diamond pastes, starting from 600-mesh up to 50,000-mesh for a flawless sheen.
You can then incorporate your polished opal into jewelry, inlay work, or even optical experiments. Explore these methods to enhance your opal and uncover its full potential.
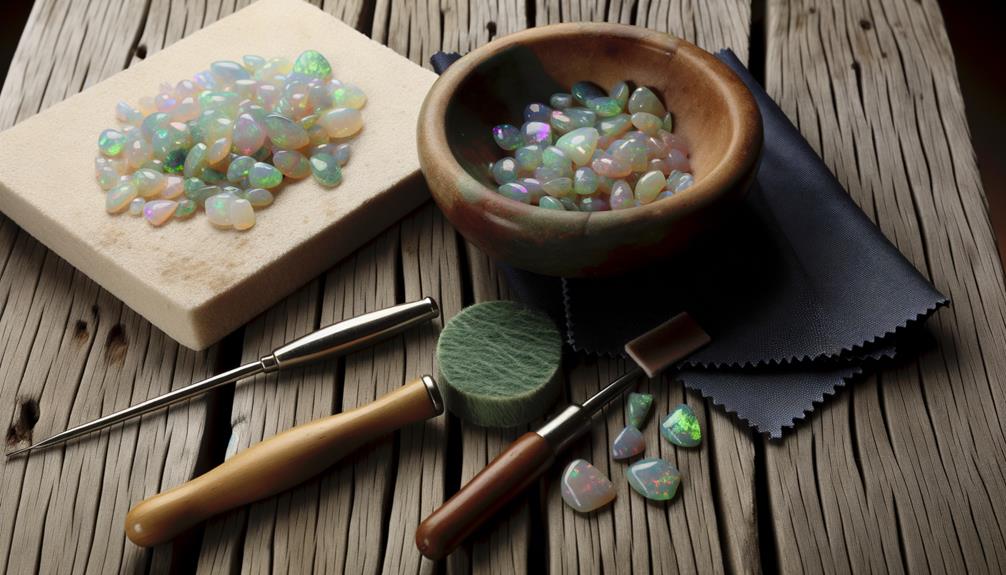
Key Takeaways
- Assess the opal's color play, brightness, and pattern under different lighting conditions.
- Clean the opal thoroughly using water and a gentle brush, avoiding harsh chemicals.
- Use a diamond saw to cut along natural seams, minimizing loss and avoiding fractures.
- Polish the opal with progressively finer diamond pastes to achieve a flawless finish.
- Incorporate the opal into jewelry, inlay work, mosaic art, or optical experiments.
Assessing Your Rough Opal
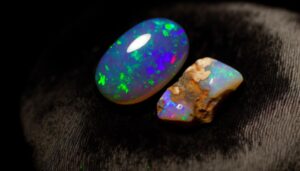
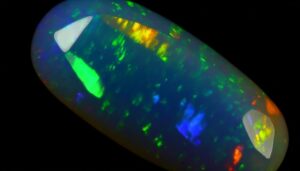
The first step in evaluating your rough opal is to examine its color play, brightness, and pattern under various lighting conditions. You'll want to use natural daylight, incandescent, and fluorescent lights to fully appreciate the opal's internal fire. Take note of the opal's hue, saturation, and how the colors shift when you rotate the stone.
Brightness is essential; the more vivid and intense the colors, the more valuable the opal. Observe the pattern: is it harlequin, pinfire, or broad flash? Each pattern type can greatly influence the stone's worth.
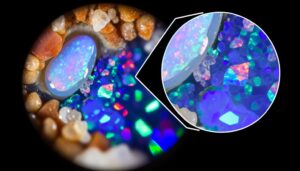
Use a magnifying lens to inspect for inclusions or cracks, as these can impact the stone's structural integrity. By thoroughly evaluating these factors, you'll understand your opal's true potential.
Cleaning and Prepping
Before you can start working on your rough opal, thoroughly clean it to eliminate any dirt, debris, or matrix material. Use a gentle brush and water to softly scrub the surface. Avoid strong chemicals, as they can harm the opal. Examine the opal under sufficient lighting to identify any remaining impurities.
Next, soak the opal in fresh water for a few hours to further loosen any persistent particles. After soaking, use a fine tool, like a dental pick, to carefully remove residual matrix material. Rinse the opal again and let it air dry.
Inspect the opal for fractures or inclusions, which may impact your approach in subsequent steps. Proper cleaning and prepping guarantee a clearer vision for your cutting and shaping endeavors.
Cutting Techniques
When you're prepared to cut your rough opal, utilize a diamond saw to make precise incisions, maximizing the yield and preserving the stone's natural beauty. Make sure the saw blade is thin to minimize loss. Cut along the opal's natural seams to avoid fractures. Maintain a steady hand and patience to achieve best possible results.
Here's a quick reference table:
| Step | Description |
|---|---|
| 1. Inspect | Examine the opal for natural seams |
| 2. Mark | Use a pencil to outline cutting lines |
| 3. Saw | Utilize diamond saw, thin blade preferred |
| 4. Submerge | Keep opal wet to reduce heat and dust |
| 5. Steady | Cut slowly to prevent stone damage |
Follow these guidelines to make the most out of your rough opal cutting.
Polishing Methods
You'll need to use progressively finer grits of diamond paste to achieve a mirror-like polish on your opal. Start with a 600-mesh diamond paste to remove any significant scratches left from the cutting process.
Then, move to a 1200-mesh paste to refine the surface further.
Next, use an 8000-mesh paste to start bringing out the opal's natural luster.
Finally, finish with a 50,000-mesh diamond paste for a flawless, glassy finish.
Ensure you clean the opal thoroughly between grits to avoid contamination. Use a felt or leather polishing pad for best results.
Always keep the stone wet to prevent overheating, which can cause cracking.
This meticulous process will reveal the opal's true brilliance and vibrant play-of-color.
Creative Uses
Having polished your opal to perfection, you can now explore a range of creative uses to showcase its stunning beauty. Consider incorporating your opal into fine jewelry; its unique play-of-color makes it ideal for rings, pendants, and earrings.
You might also use it in inlay work, embedding the opal into wood, metal, or ceramics to create intricate designs. For a more scientific approach, you could use your opal in optical experiments to study light diffraction.
Additionally, opals can serve as striking decorative pieces in mosaic art, adding vibrant hues to your compositions. Finally, some enthusiasts create opal-infused resins for custom furniture or countertops, blending aesthetics with functionality. The possibilities are as limitless as your imagination.
Conclusion
In sum, transforming rough opal into stunning gemstones requires a meticulous approach. Assess, clean, and prepare your opal with care. Employ precise cutting techniques and polish to perfection.
Remember, 'practice makes perfect,' especially in lapidary work. With dedication and skill, your rough opal can become a masterpiece. Whether you choose to showcase it in jewelry or as a collector's item, the beauty you reveal will be a proof of your craftsmanship.


