7 Simple Steps to Clean Your GE Opal Ice Maker
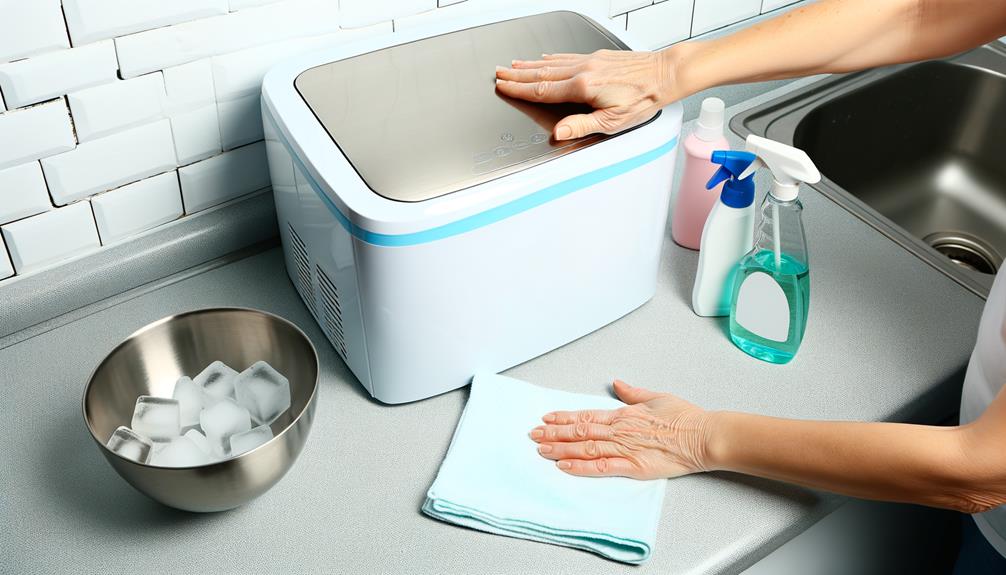
First, gather a soft fabric, distilled white vinegar, mild dish soap, a small brush, and a non-abrasive material. Unplug the GE Opal for safety.
Empty the ice bin, rinse, and dry it. Mix 5 cups of water with 1 teaspoon of bleach and use this solution to gently clean the interior, paying attention to crevices and deposits.
After thorough cleaning, reassemble by securely replacing the water reservoir, ice bin, and side tank. Confirm all connections are tight and the hoses are not kinked.
Test the functionality to confirm proper reassembly. For the remaining steps, continue on.

Key Takeaways
- Unplug the GE Opal to ensure safety before starting the cleaning process.
- Empty and rinse the ice bin thoroughly with warm water.
- Use a solution of equal parts distilled white vinegar and water to clean the interior.
- Scrub corners and crevices gently with a small brush, like an old toothbrush.
- Rinse all cleaned areas with fresh water and dry meticulously before reassembling.
Gather Cleaning Supplies
To begin, gather necessary cleaning supplies including a soft fabric, distilled white vinegar, and mild dish soap. You'll also need a small brush, like an old toothbrush, for scrubbing hard-to-reach areas. Make sure your fabric is non-abrasive to avoid scratching the ice maker's surfaces.
Distilled white vinegar is essential for dissolving mineral deposits and sanitizing, while mild dish soap will help break down any grease or residue. Have a container or bowl ready to mix your cleaning solution. Be precise with your measurements: use equal parts vinegar and water.
Keep everything within arm's reach so you can work efficiently. This preparation will guarantee you have all the necessary tools to thoroughly clean your GE Opal ice maker.
Power Down the Ice Maker
Before you start cleaning, make certain the GE Opal ice maker is powered down by disconnecting it from the electrical outlet. This step is vital to guarantee your safety and prevent any electrical hazards. Find the power cord at the back of the machine and gently pull it out from the wall socket. Verify that the ice maker is completely disconnected by checking the display panel for any signs of power.
| Step | Action |
|---|---|
| Locate | Find the power cord |
| Unplug | Remove from electrical outlet |
| Confirm | Check display panel |
This process guarantees that no electrical current runs through the machine, making it safe to proceed with the cleaning tasks. Always prioritize safety by double-checking the power status before moving forward.
Empty the Ice Bin
Wondering how to begin? Start by lifting the ice bin out of the machine and setting it aside. Make sure you do this carefully to avoid any spillage. The ice bin is designed to be easily removable, allowing for straightforward cleaning. Once removed, follow these steps:
- Dispose of Existing Ice: Empty any remaining ice into a sink or container.
- Inspect for Debris: Check the bin for any pieces of ice stuck or any debris.
- Rinse the Bin: Use warm water to rinse out the bin thoroughly.
- Dry Completely: Use a clean towel to dry the bin, making sure no moisture remains.
These steps help guarantee the ice bin is ready for a more thorough cleaning, contributing to the overall maintenance of your GE Opal.
Clean the Interior
After emptying the ice bin, you'll need to focus on thoroughly cleaning the interior to achieve peak performance and hygiene. Start by mixing a solution of five cups of water and one teaspoon of bleach. Use a soft cloth or sponge to wipe the interior surfaces, making certain you reach all corners and crevices. Pay attention to any calcium or mineral deposits, scrubbing gently to avoid damage. Here's a quick reference to guide you:
| Step | Action |
|---|---|
| Mix Solution | 5 cups of water + 1 teaspoon of bleach |
| Use Cloth/Sponge | Wipe interior surfaces thoroughly |
| Focus on Crevices | Confirm all corners and crevices are cleaned |
| Address Deposits | Gently scrub calcium/mineral deposits |
| Avoid Damage | Clean carefully to prevent scratching |
Following these steps guarantees your GE Opal remains clean and efficient.
Rinse and Reassemble
Once you've thoroughly cleaned the interior, rinse all surfaces with fresh water to remove any bleach residue. Confirm that every component is free of cleaning agents. Use a soft cloth to dry each part meticulously. Pay close attention to small crevices where moisture can accumulate.
Next, reassemble your GE Opal by following these steps:
- Replace the water reservoir: Make sure it's securely attached.
- Install the ice bin: Align it properly to avoid jamming.
- Reconnect the hoses: Check for any kinks or leaks.
- Reattach the side tank: Confirm it's locked in place for peak performance.
Double-check each connection to make sure everything is tightly secured. Turn on the unit and run a test cycle to verify that it's functioning correctly. This will optimize your GE Opal operates efficiently.
Conclusion
To sum up, keeping your GE Opal ice maker in good condition is simple if you follow these steps.
Picture Sarah, who ignored her ice maker, resulting in low ice quality and machine issues. By routinely cleaning and reassembling the unit, she regained its performance and ice quality.
Keep in mind, regular maintenance not only prolongs the appliance's lifespan but also guarantees you receive top-notch ice every time.
So, don't delay—clean your GE Opal today for the best outcomes.


